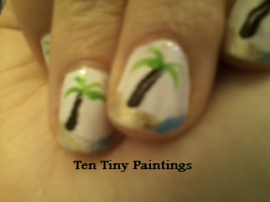
These are the nails I did for my Halloween costume this year. It’s basically a version of the palm-tree-on-a-beach design that surfaces every summer, but if you want to know what I did, here it is:
What I used:
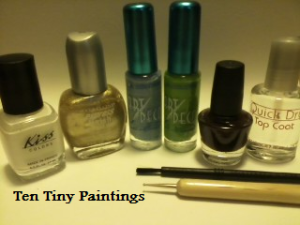
- White glue base coat (read how here) applied with the black plastic paint brush
- White polish by Kiss Colors (unnamed, no number, from French Mani set)
- Wet Sand by Maybelline New York
- Sky Blue by LA Colors (Art Deco line – has striper)
- Mint Green by LA Colors (Art Deco line – has striper)
- Chocolate by e.l.f. applied with the 1 mm dotting tool
- Clear quick dry top coat (generic)
What I did:
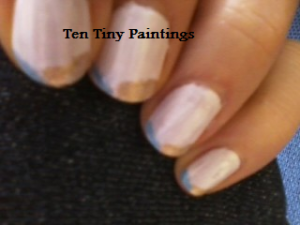
Step 1: I wanted this to be super temporary so I used the plastic paint brush to apply a very thick base coat of white glue (read how here). Unfortunately, this made it a little too temporary and I spent the rest of the day making sure that it didn’t fall off. On the plus side, it peeled off easily after I was done with my costume, so it did what I wanted it to.
(Perhaps that was because I also was not very careful and didn’t treat my nails very gently, but also because I didn’t put the top coat far enough to the edge to cover the glue so it kept getting soft whenever it became wet. Still, if the paint begins to lift off or starts to peel off, I just gently wet the nail and press the peeled off section back down. Then wait until it dries again, and it’s just like new.)
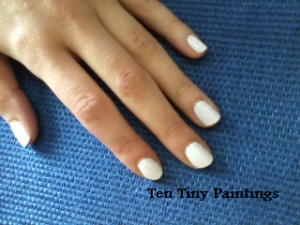
Step 2: Add two coats of white.
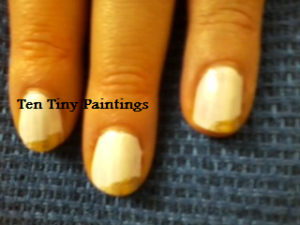
Step 3: Paint a corner at a diagonal with the sandy gold color. (I like how this color was named Wet Sand, like it was made for a design like this!) It doesn’t have to have perfectly straight edges. I made the edges uneven so it looked more like a bumpy beach.
Step 4: Paint the other corner with the light blue, for the water.
Step 5: Use the dotting tool (or a toothpick) and the brown polish to draw a trunk from the sand to midway to the base of the nail.
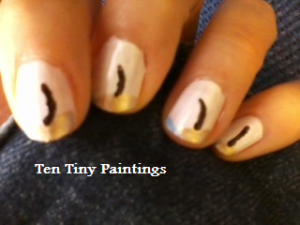
Step 6: Paint the leaves using smooth brush strokes with the green polish and a striper (like the one included in the Art Deco polish I used) or other thin paintbrush.
Step 7: When dry, use the top coat to seal the design and cover the white glue base if it wasn’t all covered by the white polish. If you miss this, you’ll spend a lot of time trying to make sure that it doesn’t peel off before you’re ready for it to be removed.